If you are planning a rear extension, the best time to choose its flat roof is while you can still change the position of the outlet, the height of the rooflight and the detail below the upstairs window. Roofcare London offers EPDM roof installation for new extensions and replacement coverings for existing ones. We can look at your drawings before the roof is built, or inspect an existing extension if the covering has reached the point where you want it renewed.
EPDM (ethylene propylene diene monomer) is a flexible synthetic rubber membrane. On a straightforward rectangular extension, much of the roof can often be covered with a single sheet. That is appealing above a finished kitchen or living room. Its success still depends on how the membrane is supported and what happens where it meets walls, glass and gutters. Our flat roofing service brings those details into the discussion before you commit to a particular system.
Where EPDM works particularly well
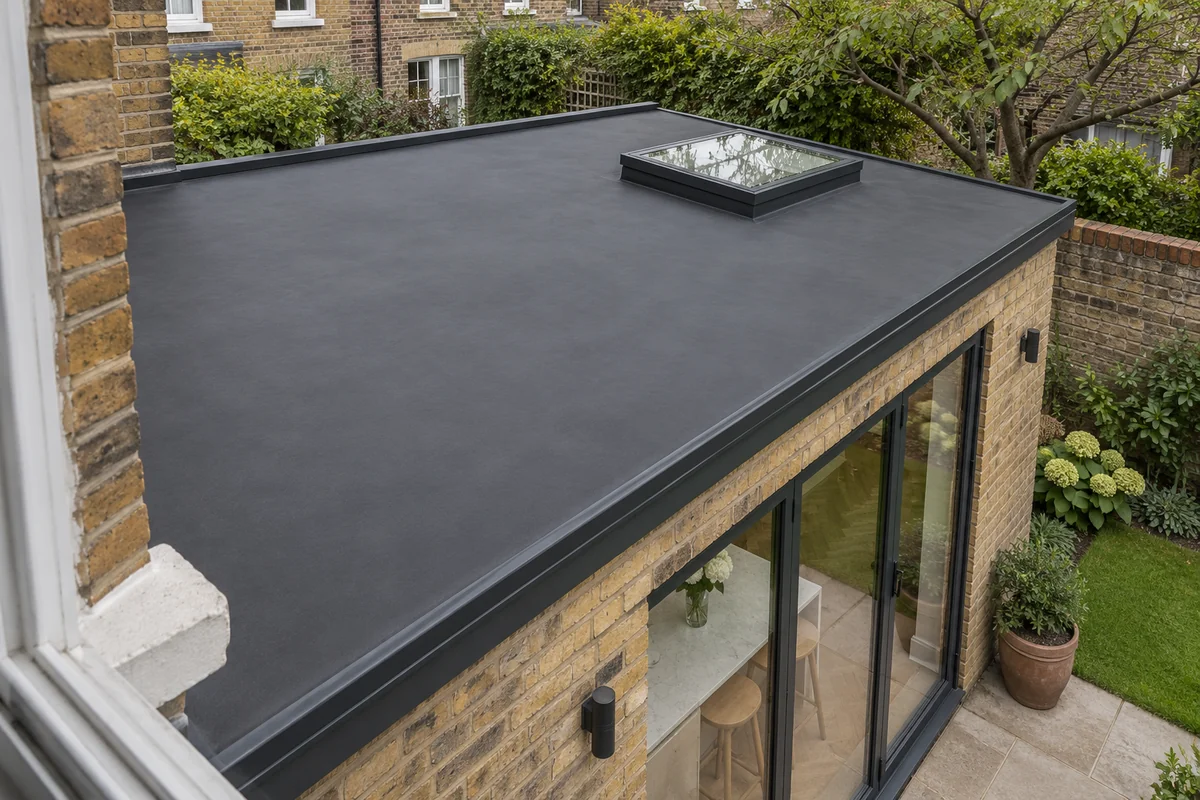
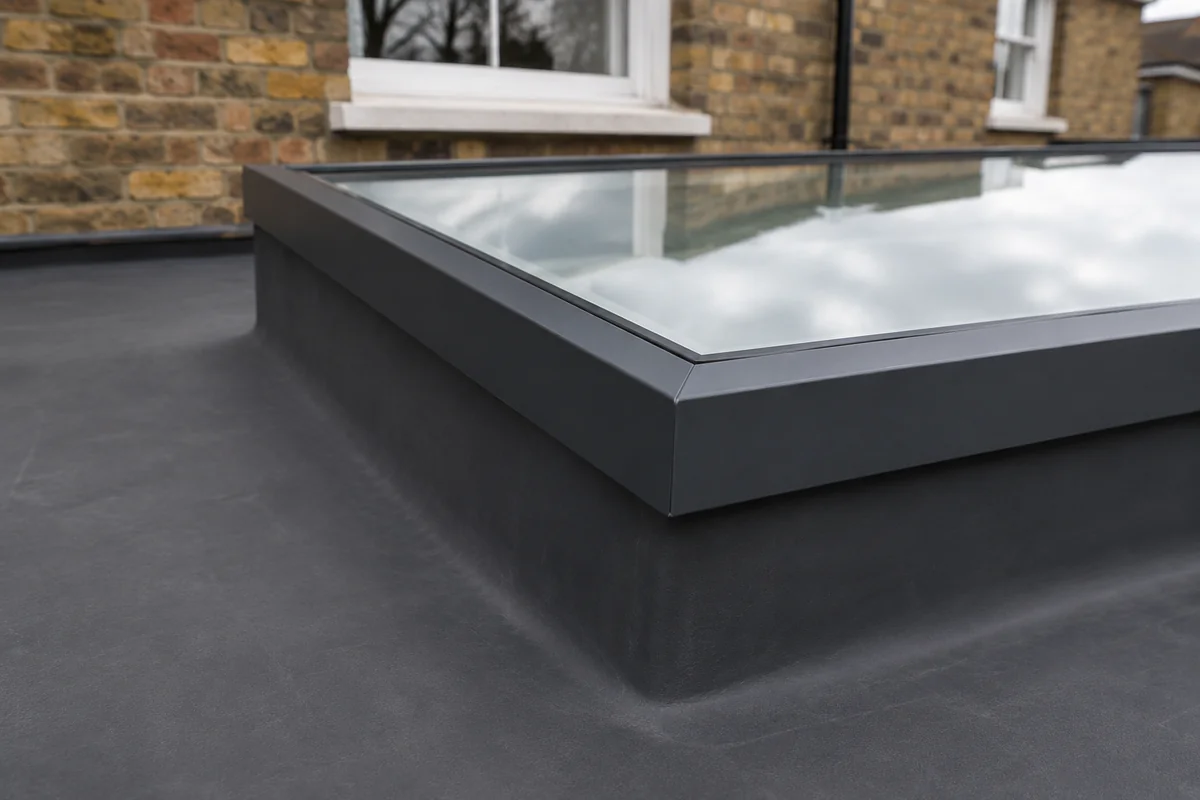
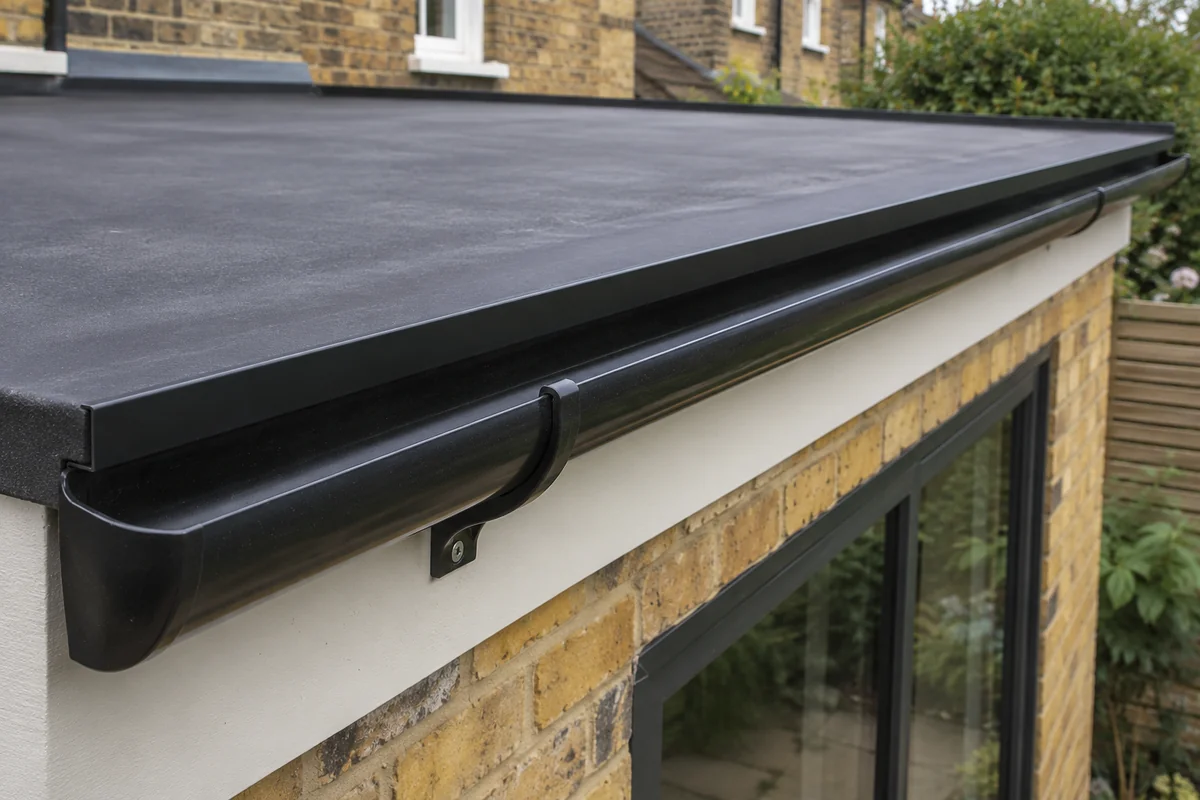
Consider a rear kitchen extension with one long wall against the house, a roof lantern in the middle and a gutter across the garden elevation. The main field of the roof is relatively simple. The roofing work concentrates around the wall, the four corners of the lantern and the edge over the gutter. A rubber membrane can suit this configuration well, provided we have room to form those junctions and the deck falls towards the intended outlet.
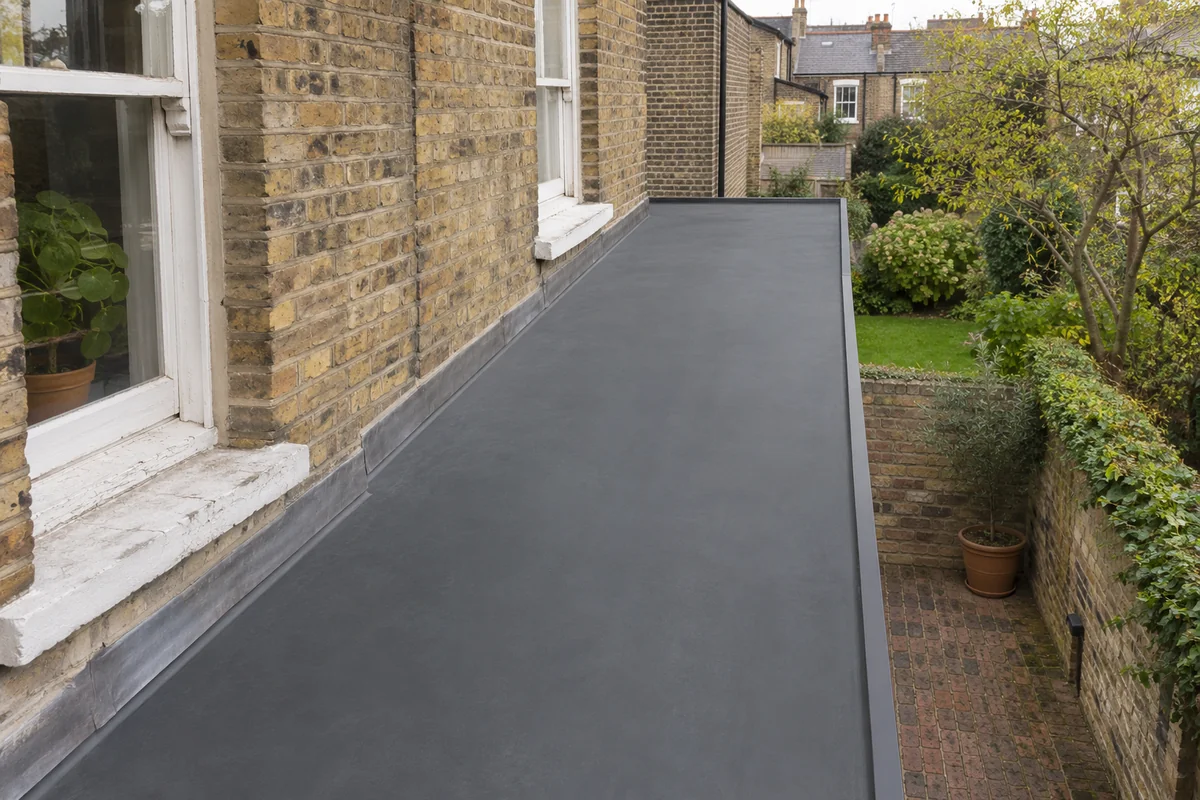
A side-return extension has a different set of demands. It may be long and narrow, enclosed by walls on two sides and difficult to reach once the scaffolding has gone. The sheet itself might be easy to size. Finding a sensible place for the outlet, and a way to reach it later for cleaning, can be the more important design decisions. Give us the full outline of the extension, including narrow sections hidden behind a parapet when viewed from the garden.
Tell us if you plan to use the roof for anything beyond occasional maintenance access. A window cleaner might need regular access to glazing above it, or an air-conditioning unit might be proposed for a corner. A terrace with furniture and regular foot traffic needs a specifically designed construction and finish. Mentioning the intended use now allows the roof, supports and access arrangements to be considered together.
What we need from your extension drawings
A floor plan shows the shape of the room. A section through the roof shows whether the roofing detail will fit. If you have both, send them when you enquire about EPDM installation. Drawings showing the finished roof level against the original house wall are particularly helpful. They let us see how much space there is below existing sills and where the waterproofing can turn up against the wall.
For a rooflight or lantern, include the model if it has been selected. The frame may be supplied by a glazing specialist while the builder constructs its raised base, known as the kerb. The membrane has to meet that kerb in a way that works with the frame and its seals. If two trades have each assumed the other will finish the corners, the problem can remain hidden until rain reaches the new kitchen.
A simple sketch is still enough to start a conversation if plans are at an earlier stage. Show the house wall, any boundary walls and the direction you expect rain to drain. Mark proposed doors or windows facing onto the roof. A pencil line indicating the lowest sill often says more about the available space than a glossy image of the completed extension. We can explain what needs confirming before the roof covering is specified.
What goes underneath a rubber roof?
The membrane is the exposed waterproof layer. Beneath it, the deck and any insulation have to form a stable, compatible base. On an extension containing a heated room, insulation and moisture control belong in the roof design from the start. A warm roof commonly places insulation above the structural deck. The resulting thickness matters at every surrounding wall, opening and edge. We need the build-up agreed before treating the architect’s roof line as the finished surface.
On a new extension, clarify which parts the builder will hand over to the roofer. Who provides the deck? Who forms the falls and the rooflight kerb? Who installs the outlet and connects the downpipe? A useful scope names the person responsible for each junction as well as each individual product. It allows the builder, roofer and glazing installer to work to the same finished heights.
On an existing extension, the starting point is what is already beneath the covering. If parts of the deck have been softened by a long-running leak, they need assessing before the new membrane goes on. An overlay can be considered where the existing roof is demonstrably suitable and compatible. Where stripping is necessary, it gives access to examine the layers that will support the replacement and to correct defects you could not see from the room below.
The details you notice from inside the house
At the lantern. A leak that appears along the plaster reveal can originate at the roof covering, the junction with the kerb or the glazing above it. During installation, the membrane detail and frame detail need to work together. If you are retaining an older lantern, we need to know whether there is room beneath its frame once the roof is renewed. A photograph of the full lantern from indoors can help identify its position before a visit.
At the back wall. The waterproofing turns upwards where the extension meets the original house. Its upper edge needs protection from water running down the wall. A low sill, ventilation opening or existing pipe can interrupt the available space. If the builder is altering any of these features, it is easier to co-ordinate the work while the wall is accessible than after the rubber and internal finishes are in place.
Over the garden doors. Stand in the doorway and consider where you would like the rain to go. A clean fascia line above sliding doors can conceal quite a complicated edge or gutter. We can discuss how the membrane finishes, where the outlet sits and whether the downpipe will be accessible beside the door. A downpipe set behind a future fixed planter may be easy to fit and awkward to look after.
Why the shape of the roof matters more than its area
Two extensions with the same floor area can require very different waterproofing details. A rectangle with a straightforward front gutter offers a broad sheet of roof uninterrupted from wall to edge. Give the same area an L-shaped plan, two lanterns and a soil pipe, and it contains more corners and changes of direction. Those are the places where the installer has to connect parts of the system while allowing water to keep moving.
On a replacement project, ask where rain currently collects. A patch that stays wet long after the rest of the surface dries can point to an outlet set too high or a local hollow in the deck. Rubber will follow the surface on which it is laid. If you want the new roof to drain differently, the solution may lie in the falls underneath it or the receiving gutter. Our standing water guide explains which observations help us investigate.
Think about how the roof will look from upstairs, too. You may see the entire finish from a bedroom, even though the roof is hidden from the garden. Corners, trims and the route of any pipework become much more noticeable from that angle. Share a photograph from inside the window if it is safe and convenient. It gives us the view you will live with and helps us explain how the proposed details will appear.
Co-ordinating installation with the rest of the build
Before laying the covering, the installer needs a suitable prepared surface and conditions appropriate to the specified system. On an extension being built alongside other work, sequence matters. If a bricklayer needs access to the wall above or a glazing team still needs to move a heavy frame, agree how the roof will be protected. Completed waterproofing should not become an unplanned platform for storing materials.
When a new extractor duct or cable is proposed late in the build, speak to the roofing installer before anyone cuts through the finished membrane. The position and type of penetration affect how it can be waterproofed and inspected. The same applies after completion if you decide to fit lighting, plant or a new rooflight. Keeping the membrane specification and installation details makes those later conversations much simpler.
At handover, ask to see the finished outlets and the junctions that will be hard to view from ground level. Check who will provide the product information, what maintenance is appropriate and how future trades should arrange access. These records are particularly useful on an extension with several installers, as they identify the roof covering and the people responsible for the glass and frame above it.
Discuss your extension roof with Roofcare London
If your builder is asking which roof covering to allow for, send us the drawings and the proposed rooflight details. If the extension already exists, tell us the room below, the approximate shape of the roof and what has prompted you to replace it. At an EPDM roof installation visit, we can assess whether rubber suits the layout and explain how the proposed installation will meet the house.
Arrange an EPDM roofing enquiry with Roofcare London or call 020 8485 9639. We work across Surbiton, Kingston upon Thames, Hammersmith, Fulham and the surrounding areas. If you are choosing between rubber and fibreglass for your particular extension, we can talk you through both options as part of the assessment.